As you may have seen, we now have a new Landlord Vision product. The next few tips go over some of the basic functionality to help you get started, whether you have just signed up, or if you are holding off for a later date. The new product is a complete revamp and includes some exciting new features as well. I shall discuss these in more detail as the months go by.
As well as new features, the new product also has new ways of doing things. In this tip, I am going to concentrate on properties and units as these are what the whole software is based on. As with everything else, we have revamped this section and now it works a little differently.
How to Add Properties in New Landlord Vision
For a start, there is a section dedicated just to properties and nothing else. Each property has a series of tabs where you can add data specific to that property. Also, there is an area within the properties section where you can add information without having to be in a particular property. This allows you to quickly add all of your relevant data without having to keep switching between properties all the while. These generic screens also have filters so that you can see information on all of your smoke detectors across all of your properties in one page, or all of the gas certificates due to expire next month. Also, we will very soon be adding Export buttons to these pages so you can produce your own reports based on whatever filters you set on these screens.
What Counts as a Property in New Landlord Vision?
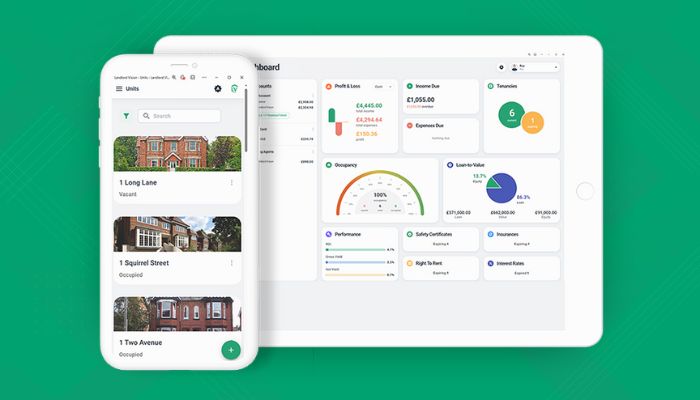
So what is a property? Well, a property can be any building that you own, whether fully or in part. You can, if necessary, divide the property into individual units. These units could be rooms, flats, garages or anything else. You can then assign invoices, bills, documents, certificates and more to any unit and produce a P&L for each unit or the property as a whole.
How to Use Units in New Landlord Vision
You can rent out the property in it’s entirety or rent out individual units. Simply select the relevant unit when setting up the tenancy. You can also record purchase, valuation and selling details for each unit as well, so if you buy up a building one flat at a time, you can record this information too. And you can then go on and produce a capital gains report.
Speaking of the Capital Gains report, this now works a little differently too. The Cost Type selector is gone, simply assign any capital, property buying or property selling costs to a Capital Costs, Property Buying Costs or Property Selling Costs sub-account. Also, record the purchases and sales of the properties themselves to the Properties account. Much more straightforward I’m sure you’ll agree.
Archiving Properties in New Landlord Vision
Finally, once you have sold a property and completed everything associated with it, you can then archive the property. This stops it from appearing on the data entry screens, but still keeps the data in the reports, so it doesn’t get in your way while you are working on the properties that you do still have.
That’s it from me for now, look out for our next article where I’ll share more tips!